Managing Projects
This user guide provides instructions on managing projects in Origen. It covers various management features, including editing and saving project, trashing project, and using the Origen filter bar to access content related to the Projects category. We will use Financial Sector as example to simplify the explanation.
Accessing the Projects list
-
Log in to the Origen backend area with your administrator credentials.
-
Accessing Projects entries
- Method 1 (quick & recommended)
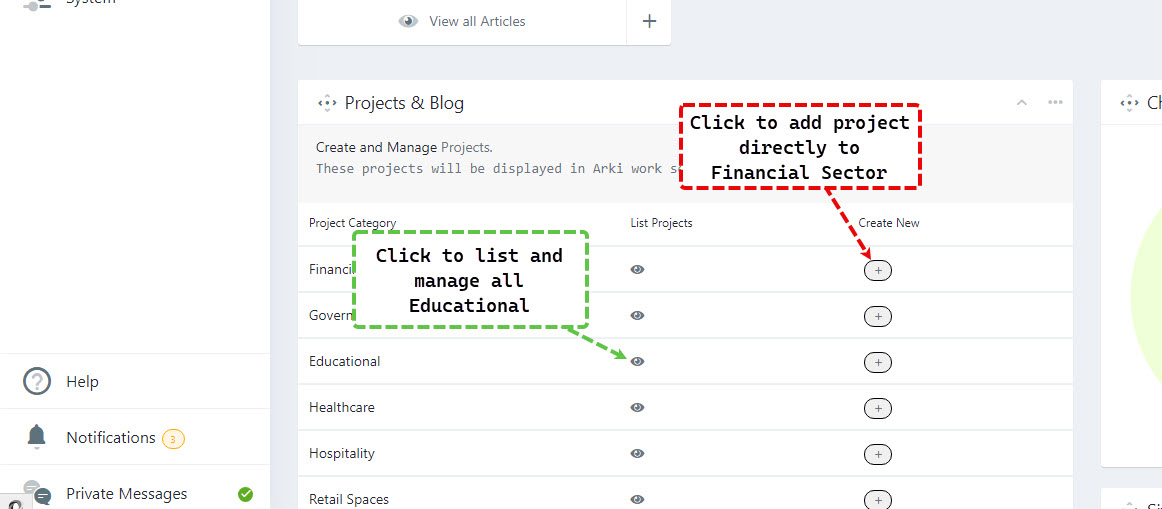
- From you dashboard scroll to Projects & Blog then press the (eye) button next to the relative section. You will be redirected to the Projects list with the proper section being pre-filtered.
- Method 2
- Navigate to: Sidebar → Content → Articles. You will be redirected to the content manager.
- From the dropdown menu, select "Articles" to access the Article Manager.
- In the Article Manager, locate the filter bar located above the article list.
- Click on the "Select Category" dropdown menu.
- Scroll through the list and select the category (example: "Financial Sector").
- The Content Manager will now display only projects assigned to the Financial Sector.
- Method 1 (quick & recommended)
Editing Project
- In the Content Manager, locate the project you wish to edit.
- Click on the project's title or the associated checkbox to select it.
- Click on the "Edit" button in the action toolbar at the top or bottom of the Content Manager.
- The project will open in the form editor, allowing you to make changes.
Saving (Updating) an Article
- After making the desired changes to the project, review the changes.
- Click on the "Save" or "Save & Close" button in the action toolbar to save the changes.
- The project will be updated with the modifications you made.
Trashing a Project
- In the Content Manager, locate the project you want to trash.
- Click on the project's associated checkbox to select it.
- Click on the "Trash" button in the action toolbar at the top of the Content Manager.
- The project will be moved to the Trash folder.
- Trashed projects are still recoverable until the trash is emptied.
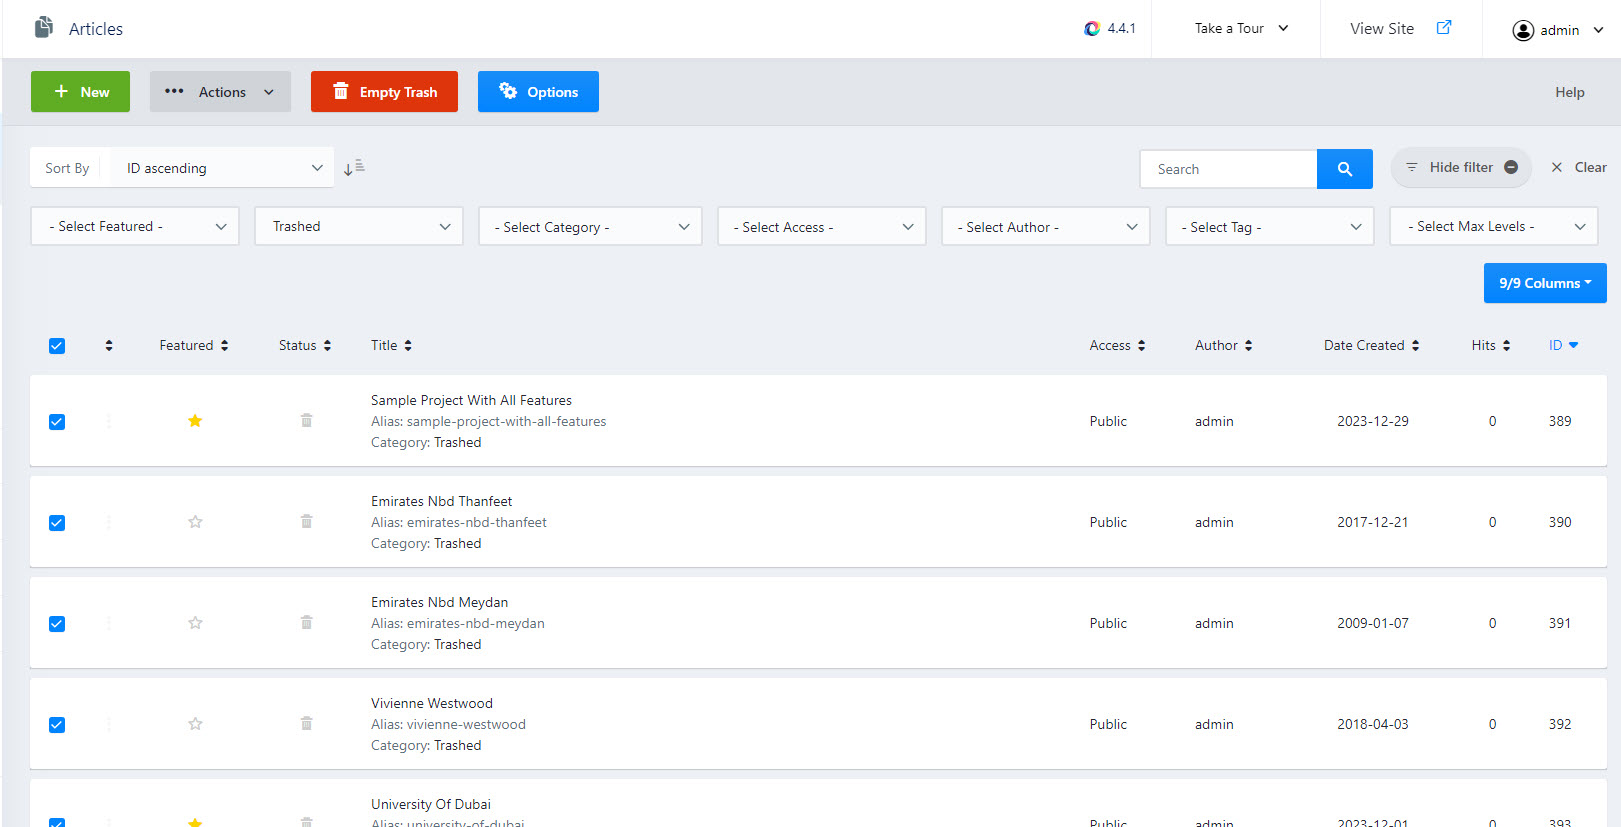
Emptying the Trash
- In the Content Manager, click on the "Select Status" dropbox and select "Trashed".
- This will open the Trash Manager, displaying all trashed content.
- Select the Checkbox next to all content you wish to permanently delete.
- Press "Empty Trash" button from the top toolbar.
- Confirm the action when prompted.
- The trashed content will be permanently deleted and cannot be recovered.
Note
If you were unable to see some previously saved content, make sure to check the filter settings. You can also use the "Clear" button to reset filter settings.