Adding a Blog
How to create a Blog item
Introduction
This guide will walk you through the process of adding new Blog item to the website's blog section.
Accessing the Blog Addition Form
- Log in to the Arkigroup backend using your credentials.
- Create a new Blog item
-
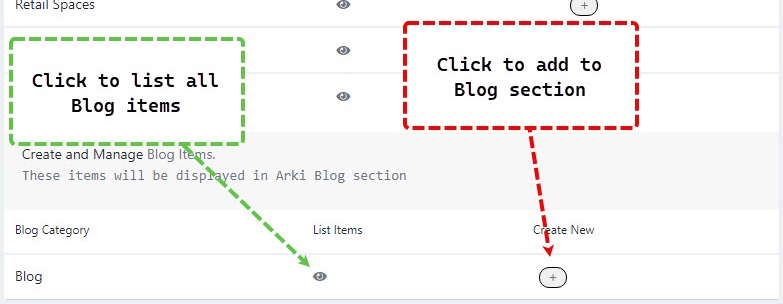
Method 1 (quick & recommended)
- From you dashboard scroll to Projects & Blog then press the (+) plus button next to the relative section that you want to create the Project for. This way you will be redirected to the Blog form with the proper section being pre-selected.
-
Method 2
-
Navigate to: Sidebar → Content → Add New Article (or the plus button)

-
From category the category filed on the right sidebar set category to Blog.
-
After selecting the intended section you will be redirected to the addition form.
-
-
Blog Fields
The following list provides an explanation of the purpose of each field in the Blog addition form. Familiarize yourself with the purpose of each field to ensure accurate and comprehensive data entry.
-
Title: Specify the main title of the project.
- Enter a concise and descriptive title for the Blog Item.
-
Intro Image: Set the image that will be displayed in the Blog listing. The intro image is a visual representation that appears at the beginning of a blog item and serves the purpose of capturing the reader's attention and providing a visual summary or preview of the blog item's content.
-
Upload an image that best represents the project and will be displayed as a thumbnail or introductory image in the Blog listing.
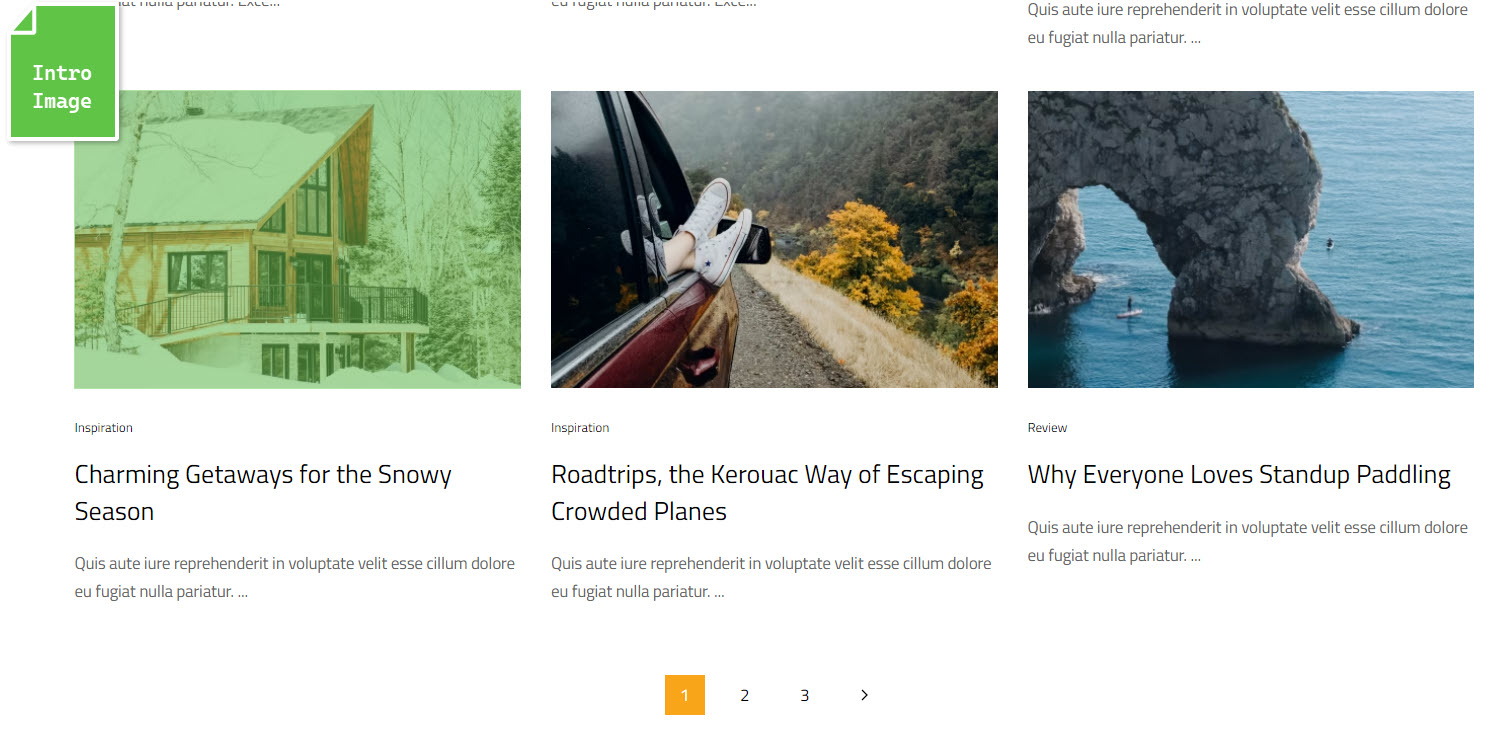 Image into displayed in project listing page
 -
-
Full Article Image: Set the image that will be displayed in the Blog listing. The Full Article Image is a visual representation that appears within the body of blog item and serves the purpose of enhancing the visual appeal and context of specific sections or topics within the blog item. Please note that if a full article image is not set, the intro image will be used as a fallback and displayed on the blog item page instead.
-
Upload an image that enhances the visual appeal and context of specific sections or topics within the article.
-
-
Blog Author: Assign an author for the Blog item.
-
Select a user from user list database.
-
-
Tags: Create or select previously created tags.
- Tags help in organizing blog items into logical groups based on shared topics or themes. By assigning relevant tags to blog items, content creators and administrators can create a structured and organized content hierarchy, making it easier for users to navigate and find blog items of interest.
-
Featured: Highlight the project in the portfolio.
- Check this box if the Blog item should be given special prominence in the blog section. It will stand out among other Blog items.
-
Content: The main text of Blog item.
- An HTML text.
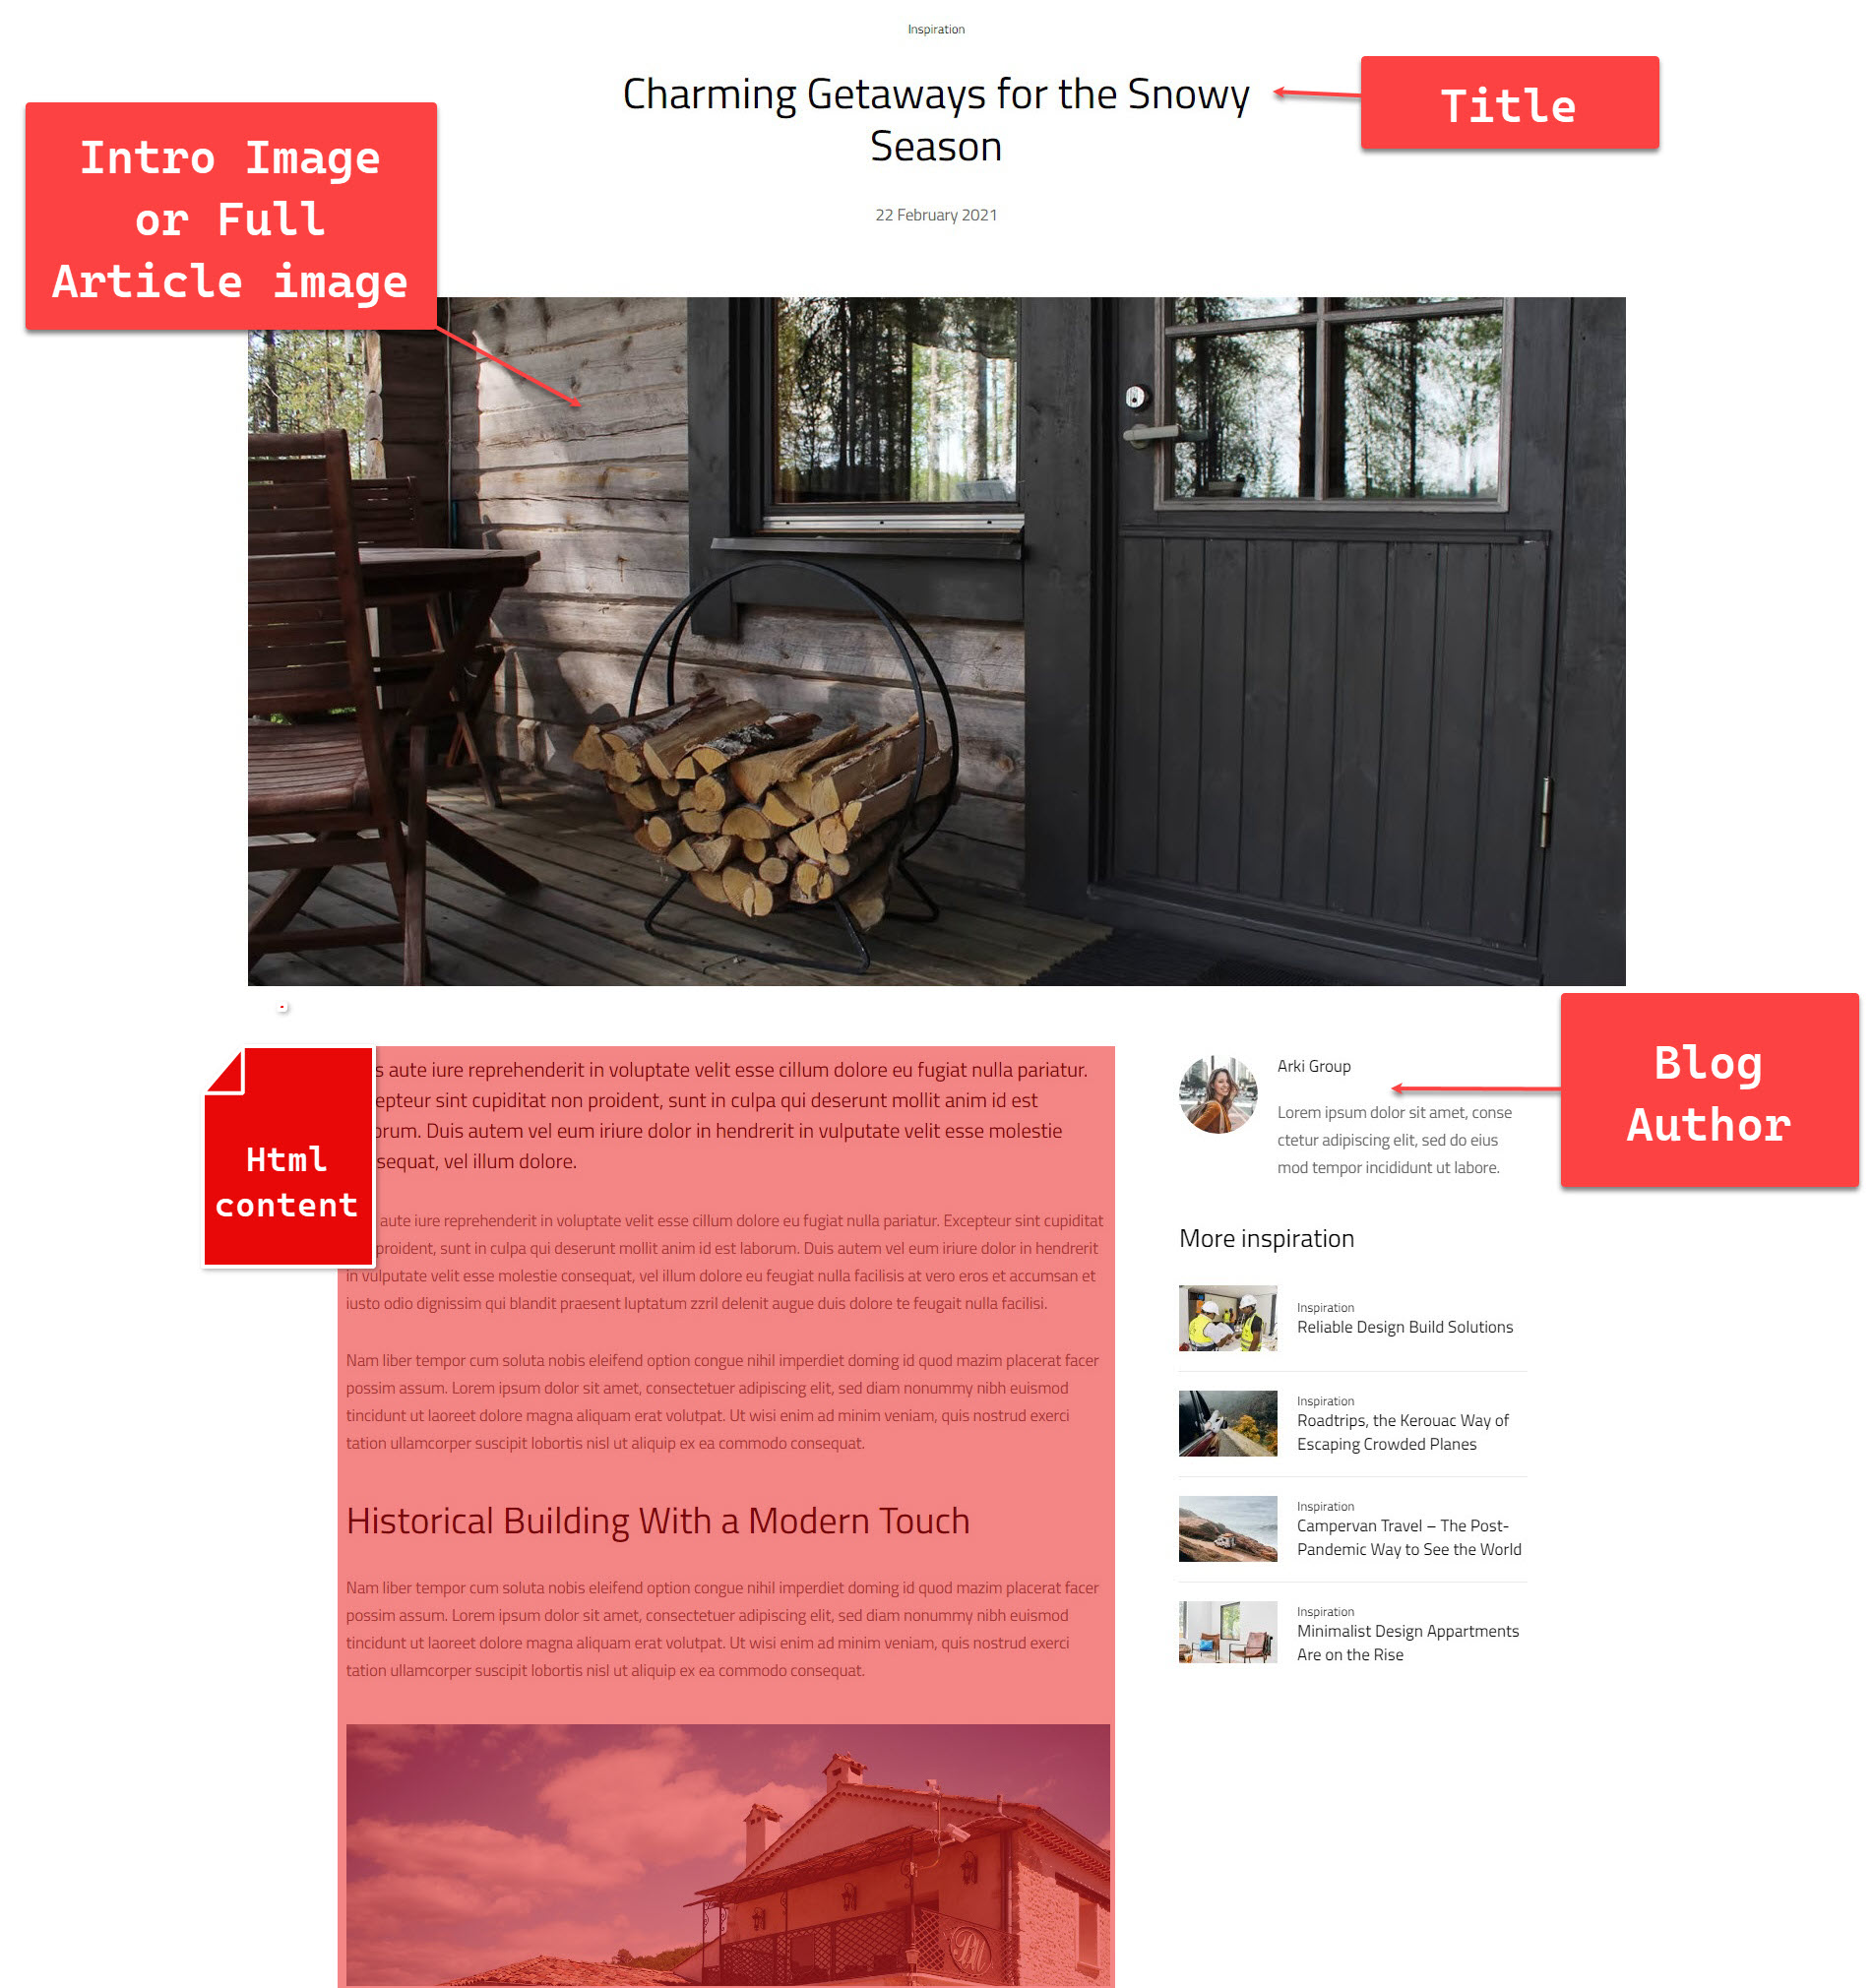 A screenshot showing how a project's detail page looks like if all field were filled
Saving and Submitting the Blog item
- Review the entered project details for accuracy and completeness.
- Click the "Save" or "Save & Close" button in the top toolbar to save the project and add it to the portfolio.

Best Practices and Tips
In Origen, you have the option to save contents as unpublished before publishing them on your website. This feature allows you to preview and double-check the content of an content before making it visible to your website visitors. Following this best practice ensures that your published contents are accurate, complete, and error-free. Here's how you can leverage this feature:
-
Unpublish the Content: In the "Publishing" tab, set the "Status" dropdown to "Unpublished." This will prevent the content from being visible on the website until you choose to publish it.
-
Preview Using the Origen Toolbar: After saving the content, take advantage of the Preview button in the Origen toolbar. Click on the Preview button, which typically looks like an eye icon, to open a modal window displaying a preview of the content. This allows you to conveniently review the item's content, appearance, and functionality without navigating to the frontend of your website.
-
Make Further Adjustments: If you identify any issues or areas for improvement during the preview, close the preview to go back to the Origen administrator backend and edit the content accordingly.
-
Repeat the Process: Review and edit the content as many times as necessary until you are satisfied with its content.
-
Publish the Content: Once you are confident in the content's quality, open it for editing in the Origen administrator backend and change the "Status" dropdown to "Published." Save the content to make it visible to your website visitors.
To see a visual demonstration of these steps, you can watch the following video